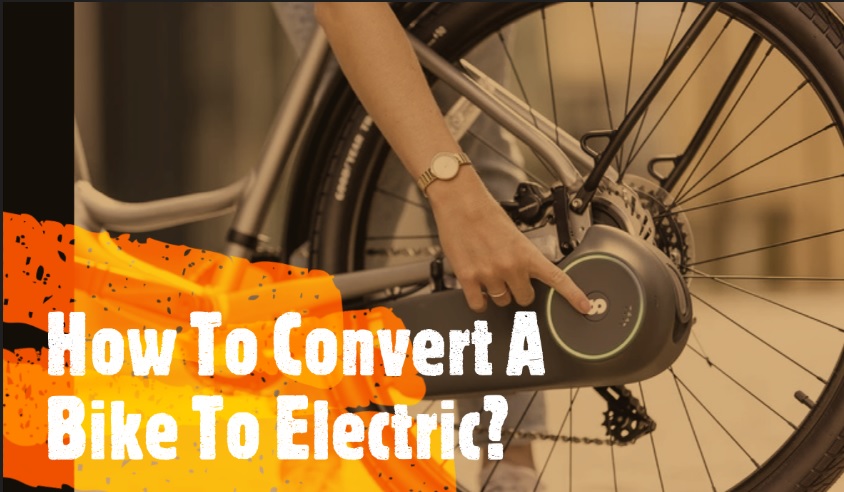
How To Convert A Bike To Electric?

In recent years, the shift towards more sustainable and eco-friendly transportation options has made electric bikes a popular choice. They provide a smooth ride, reduce physical effort, and are great for long commutes or hilly terrains. However, purchasing a brand-new e-bike can be quite expensive. If you already own a conventional bicycle and wish to experience the benefits of an e-bike without the heavy expense, a viable alternative is to convert your existing bike into an electric one. This article will walk you through the process of how to convert a bike to electric.
Components Needed
Before starting the conversion process, you will need to gather the following components:
- Electric Bike Conversion Kit: This is a set of components that include an electric motor, throttle, brakes, and controller. The motor type and power depend on your requirements, whether you’re looking for simple assistance or full power for hilly terrain.
- Battery: The capacity of your battery will dictate the distance you can travel on a single charge. Lithium-ion batteries are commonly used because they are lightweight and have a high energy density.
- Battery Charger: This is used to charge the battery when it’s depleted.
- Mounting Hardware: Depending on the kit you buy, you may need additional hardware to mount the motor and battery onto your bike.
- Basic Tools: You will need some basic tools like a wrench, screwdriver, and pliers. Some kits come with all the necessary tools.
Steps for Converting a Bike to Electric
Step 1: Choose the Right Conversion Kit and Battery
The first step involves choosing the right conversion kit and battery for your needs. This will depend on factors such as your budget, desired speed, distance to be covered, and the terrain you will be riding on. Remember, more powerful motors will need higher capacity batteries.
Step 2: Remove the Existing Wheel
The next step is to remove the existing wheel where you plan to fit the motor. Usually, the motor is placed in the front wheel for ease of installation, but it can also be installed on the rear wheel for better traction.
Step 3: Install the Motor
Take the wheel from your conversion kit, which should have the motor pre-installed. Fit this into the bike’s fork. Be sure the washers and nuts are securely tightened.
Step 4: Mount the Controller
The controller is the brain of your e-bike. It controls the motor’s power based on the input from the throttle. Find a suitable place on the bike frame to mount the controller, ensuring it’s secure and doesn’t interfere with the bike’s operation.
Step 5: Install the Throttle and Brakes
The throttle controls the speed of the bike, while the brakes stop the motor when engaged. Depending on the kit, the throttle may either replace or work alongside your existing gear shifter. Follow the instructions provided with the kit to correctly install these parts.
Step 6: Connect the Battery
Mount the battery in a place where it does not interfere with your riding and where it can easily be connected to the controller. This could be on the bike frame or over the rear wheel. Once it’s mounted, connect it to the controller. Make sure all wires are safely routed and securely fastened to avoid any potential hazards.
Step 7: Test Your Bike
Before heading out, ensure that all components are working correctly. Test the motor, throttle, brakes, and battery. Start with low speeds, gradually increasing as you become comfortable with the new setup.
Conclusion
Converting your conventional bike into an electric one is an excellent way to not only upgrade your biking experience but also to contribute to a greener environment. Remember, it is essential to choose a conversion kit and battery that suit your specific needs and always prioritize safety when installing and testing your e-bike. Enjoy your new electric ride!
